I am making progress, although slow. Hopefully in the end this will be my downstairs sewing room containing the quilt stash, the needlework stash, and office area with the computer.
I am trying to organize and label things as I sort through it all and find a home for it all. I am having surgery soon and will be stuck at home recuperating for a while and I want some projects handy and ready when I feel up to it.
The project list is getting longer and longer, with garment sewing a top priority.
I split my time between two houses—the Pond House and the Pool House. For the past week or so I have been at the Pool House, doing some cleaning and some major organizational projects. In my mind, I actually think of this as the House of Stash. Along with multiple sewing machines, sewing paraphernalia, equipment, and patterns, the Hoard is here. And I have a Hoard.
There is garment fabric, quilt fabric, embroidery fabric, sewing thread, embroidery threads, needlework patterns, needlepoint, knitting projects, and on and on and on. But my very favorites are the vintage girls patterns!
I am here in the process of setting up a sewing room downstairs. The Hoard will continue to live upstairs until it gradually gets chosen to be the next project!
I plan to have some pretty pictures for your perusal soon. Hopefully tomorrow!
I have no idea where this is headed. A piece of very ugly interfaced fabric (Geez, will I ever be rid of it?) with a fusible interfacing backing, all geared up for a journey to Who Knows Where.
An attempt to relieve myself of the last remnants of ugly fabric, interfacing scraps, and brightly colored threads I will never use in a garment.
What will it become? Dish towel? Cat bed? Trash can liner? Or perhaps a tote bag for an IPad? Or to contain a needlework project?
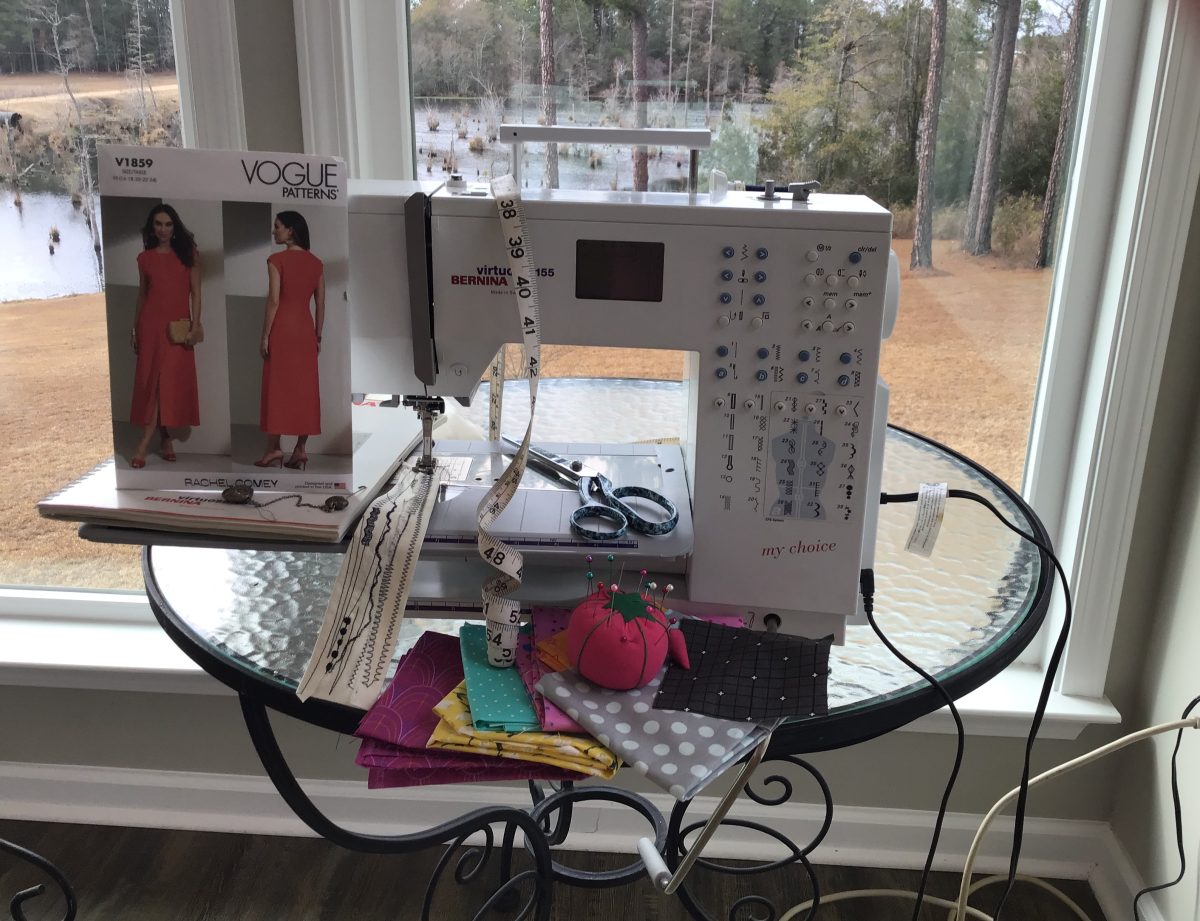
The Fisherman is deeply engrossed in some program about hunting, carving mandolins, and deep sea fishing so I am playing with my Bernina! Totally unsupervised. The cat is permanently banned from the sewing room due to her destruction of my favorite tape measure.
Taco take-out for supper tonight after the tremendous fish supper last night leaves me with an open evening for a date with Nina The Bernina. I see lots of thread work headed my way. If I decide to drop the feed dogs things might really get out of hand.
We woke up to this view of the pond and creek this morning.
This soon turned to a steady rain with wind and colder air coming in. I decided to forge ahead with an idea that’s been percolating in my mind about Burda 6610. I am enjoying my woven version so much I decided to try converting it for use with knit fabrics. (Well, yes, I like it so much I am wearing it again today. This pattern is truly getting the wear test.)
I started by trying on two of my most worn RTW tee shirts. I had a good look in the mirror because I knew there were some changes to be made in order to get a better fit and appearance. One dead giveaway that this is RTW is the mismatched stripes.
I want to remove this fold above the bustline. This tells me the front armhole is too deep and the bust is too tight. You can also see the vertical fold forming at the shoulder, which is typical for my narrow shoulders in the front.
In the next photo I have pinned out the armhole and marked where the bustline dart should end.
Yes, I am going to add a bust dart. To a knit tee shirt.
When it comes to clothing, every individual has their own idea of what fits their particular body. We each have clothes that are comfortable for our activities and that we love to wear. We also have clothing that rides up, shifts around, gapes, and just plain aggravates us every time we put it on. In my case, the shoulder width and tightness across the bust are major comfort issues. So I am going to try to solve these two issues in my tops, particularly the bust problem.
Adding a side bust dart to a knitted tee seems to me to be the easiest way to do this. I can add width, length, and shaping very easily. Most likely I will end up with a bust dart with curved dart legs.
I spent the morning measuring and comparing three different knit RTW tops that I wear frequently. In each case I cross checked these against my revised Burda 6610.
I ended up with a few changes to the basic pattern. I removed 1/2 inch from the shoulder length, raised the shoulder 3/8 inch on each side, raised the armhole 1/4 inch, lengthened the bodice 1 inch just above the waist, and lowered the bust dart 1 inch.
The sleeve pattern in my size had 1 and 1/2 inch of sleeve cap ease, which is a LOT in a woven sleeve. After I made the armhole and shoulder adjustments to the front and back bodice, the sleeves went in perfectly. I made no adjustments to the original sleeve pattern.
I have always liked the Burda armscye. The front armhole is scooped out and mimics the cut on my ready to wear items.
Here are my final adjustments on my traced pattern. They are much easier to understand in a photo than with a verbal description. The blue lines are the new seam lines.
I put the final version on and gave it the best “wear test” I could think of, which was cooking a meal, cleaning the kitchen, putting away pots and dishes, and just sitting and watching TV. Loving this top. Need MORE fabric!
I started with a size 20 with no alterations. After sewing it up I did a try on.
I went ahead and hemmed the sleeves so I could check the length and bicep. Although it is hard to tell from the photo, the bust dart is the correct length and ends where it should. I eliminated six inches of total length all around due to lack of fabric.
You can’t see it in the photo, but I marked the waistline all the way around the garment and then machine basted on the line so I could decide if I needed to add length above the waist.
I really miss my sewing buddy that used to help me with fittings. She lost her fight with breast cancer about 12 years ago.
Although it looks fine, the shoulder is a little too long.
Here I have pinned out 1/2 on the shoulder length and it sits much better, so that’s the next step. The armhole feels a little too low so I am also going to move it up 1/4 inch.
More to come! I am feeling very hopeful about this top, since I need a basic woven pullover top pattern. Thank you for stopping by.
I’ve been busy today. I spent some time measuring the pattern pieces of Burda 6610, and comparing those measurements with my own body measurements. I also measured a couple of RTW tops in my closet. Eventually I decided to trace a size 20 and go from there. So now I have this:
I am making view B, a simple pullover top with bias binding on the neck. The sleeves and hem are finished with a narrow 5/8 inch hem. This is a very basic pattern for woven fabrics and I need a good fitting pattern of this sort. It does have a side bust dart and shoulder darts for shaping. The sleeve is the basic boring sleeve that we all know and love.
I’m using up the last of the ugly fabric for this muslin. Two more yards of this fabric out of the Stash! I have high hopes for this pattern because it is so suitable for pattern hacking.
I’m planning on doing a major wardrobe upgrade this year, and one area of concentration will be color. For years black has been my base wardrobe color and this is the year I want to add at least one other base color.
With essentially no local fabric store I make most of my fabric purchases online. With black as my main color this has been fairly easy, since black is pretty much black across the board. Trying to buy browns and blues is kind of hit and miss when shopping online.
Navy blue is a base color I want to focus on this year. Today I took a road trip to Joann’s and found this nice blouse weight polyester. The background is a very dark navy and features birds. It definitely appears black in the photo, but oh well.
I also found this print which I think will be nice for spring and summer. This one is navy also.
Another color that I want to wear this year is a soft green, and I found these two fabrics that came home with me also. These two are midweight jersey knits that will work nicely for my climate.
This brings my 2023 Fabric In to 10 yards.
My 2023 Fabric Out amount is 5 1/2 yards. Vogue 1859 was a real fabric hog.
I plan to do a quick muslin of a new pattern tomorrow. Thanks for stopping by!
It is finished. Beautifully finished, actually. But it is a FAIL.
Of course, this was a trial run with ugly fabric just to check the pattern. The fabric type and weight were suitable for this design. So the ugly fabric didn’t cause this fail. This fail is due to the pattern drafting.
The gaping under the arms is huge in real life, about three inches too low. The pattern envelope photo is posed in such a way to hide this fact. I can only guess at the number of hidden clips used in the photo shoot. I made a size 22, and the armhole depth finished about 9 1/2 inches deep. Nope. Way too deep.
Then there is the issue of the massive width of the front bodice above the breast line. In the next photo I have assembled the bodice pieces for your viewing pleasure. Note that this is for only one side, so the total width of the front bodies is about 23 inches! The back bodice width is good.
The shoulders are too wide. I would need to reduce this by an inch. The fit at the bustline is good, but it is pretty slim through the waistline. The finished length hits me right above the ankle, and I am pretty close to six feet tall.
If I decide to have another go at this design I will definitely trace off the bodice front, back, front band, and arm bands. I still like the style of this dress, so I might do it.
And lastly I want to mention the pattern instructions for assembling and stitching the front bands. They are crap. No diagram, just a couple of sentences suggesting to put it together on the inside while pinning on the outside. Craziness. If you’ve been sewing for fifty years you can work it out. Goodness help you otherwise.
I was a bit surprised that the pattern instructions for Vogue 1859 didn’t recommend interfacing the seam allowances prior to inserting the zipper. This step stabilizes the seam and results in a much easier zipper application, especially in a seam that is curved. It eliminates those aggravating ripples and gives a nice professional finish for any type of zipper. It is super easy to apply, especially if you use fusible interfacing. I cut straight strips 3/4 inch wide and add an inch to the length of the zipper I am inserting. These strips were cut 15 inches long. I consider this step as essential for knit fabrics.
I also press my zipper completely flat.
There’s an invisible zipper in this seam!
The only thing left to do on this project is hemming.